Saturday 22 February 2014

Creating a character (the story behind it)


Over the last two weeks as well as doing my 3D and other 2D work I have been assigned the task of creating a character, but not any character it had to be an interesting one. Now this is something I've never properly done before and to create a character like this is quite a daunting task. This was a fantastic exercise and opportunity to do something that intrigues me, I did have a problem though and that was the process behind it. I knew where to start my project off which was good but I didn't know what kind of process there was behind making a character so I decided rather then ponder to take a leap into the dark and see where I got.

The first step was to just go out and draw as well as photo lots of people and different expressions. I did thumbnails and quick sketches during lectures and from some photos. I also did self portraits of me using 30 different expressions because it helped me understand the way the face changes when these faces are changed (nose moves up, ears down, etc.). When this was going on I did start thinking about the different characters that might use that face and what they might look like. This was staring to get my imagination flowing which would prove useful throughout the entire project.


I then went back out and drew more images of people in the street. I tried to find people which interested me. Some had interesting walks (or gaits), some had odd clothes or expressions on their faces. During this process I found I was thinking more of more about why a certain feature makes the character interesting and what the story was behind them. What kind of character it would make was another interesting thing. Eventually I found a man selling Big Issues who had a massive bag, a broken/scared nose and some ear piercings. Like all people selling the Big Issue he was a bit rough around the edges and after a conversation with him I really got a sense that this would be the guy I would base my character off.

I started exploring with more of the different faces, clothes and accessories and gradually started picking out the part which I thought visually were interesting and creating this character. I was staring the form this character and build him up.

 Now that I was finding this character I was thinking more and more about who he is and how he fits into the world. Who he is, Where did he come from? How did he walk? these questions were appearing and through my work I was answering them. I realised that this is how you make a character. You find his story and do this by thinking about all the details not just how he looks but why he might look that way and how he might move.

By the end I had found my character. A wandering aged man who even though looked scruffy was hopeful and quietly optimistic. He seems like he once might have been better off but in his old age he had learned to like his new life and collects memento's of his past and things he finds interesting in that massive beaten up old bag. One of the second years in a workshop suggested that he could have been an old gambler who had lost a lot and I thought that was a nice little back story. Maybe that's why he collects things so that if its worth something he can gamble it. He might be hopeful and optimistic because he always wants to win.


I had loads of fun this project and learned that when making a character you go through all the senses of the character and making a character is almost like uncovering one. You kind of exhume it, it starts off vague but as you dig deeper more details and possibilities are unveiled but it also becomes more defined and strong.

Tuesday 11 February 2014

Stop-motion vehicle

So with my vehicle model I've quickly made my first stop-motion animation. I did it in 2's and its not long but I enjoyed making it. I think through this and other animation exercises I'm doing, I'm slowly gaining an understanding of timing and spacing which is important when making animations.

I'm currently doing further animation experiments and practice with a character model I've made. It has a wireframe skeleton and modelling clay surrounding it . I also made a selection of eyes and mouths for it so I could change the expressions on its face but the real challenge will be using body poses to show the emotions and what kind of character it is.

Saturday 8 February 2014

Balloon Modelling...Making it Real

So I've already developed an Airship (look to the last post if you need help) and now I've been tasked with making a real-life model of it. Now aside from assembling some Warhammer in my youth I've never been particularly amazing at making things with my clumsy hands. However I'm determined to pull out the stops on this project expansion and get the job done to a high quality.

The important lesson involved with this though is to understand how to visualize the 3D world. If I understand how things would look in the real world then it can help me to translate this into the 2D world in my artwork. It can also develop my 3D software skills where if I can build it in real life it will give my an understanding of what shapes make it and use that knowledge to construct it easily and efficiently on the computer. It's a brilliant example of how this course and game art cant be split into groups because it all flows together and works of the same principles.

So away we go. After doing a quick page of sketches trying to understand the balloon and the shapes in it a began by making a wire frame of the boat section and using some cheap modelling clay (I am a student) to bulk out the shape.

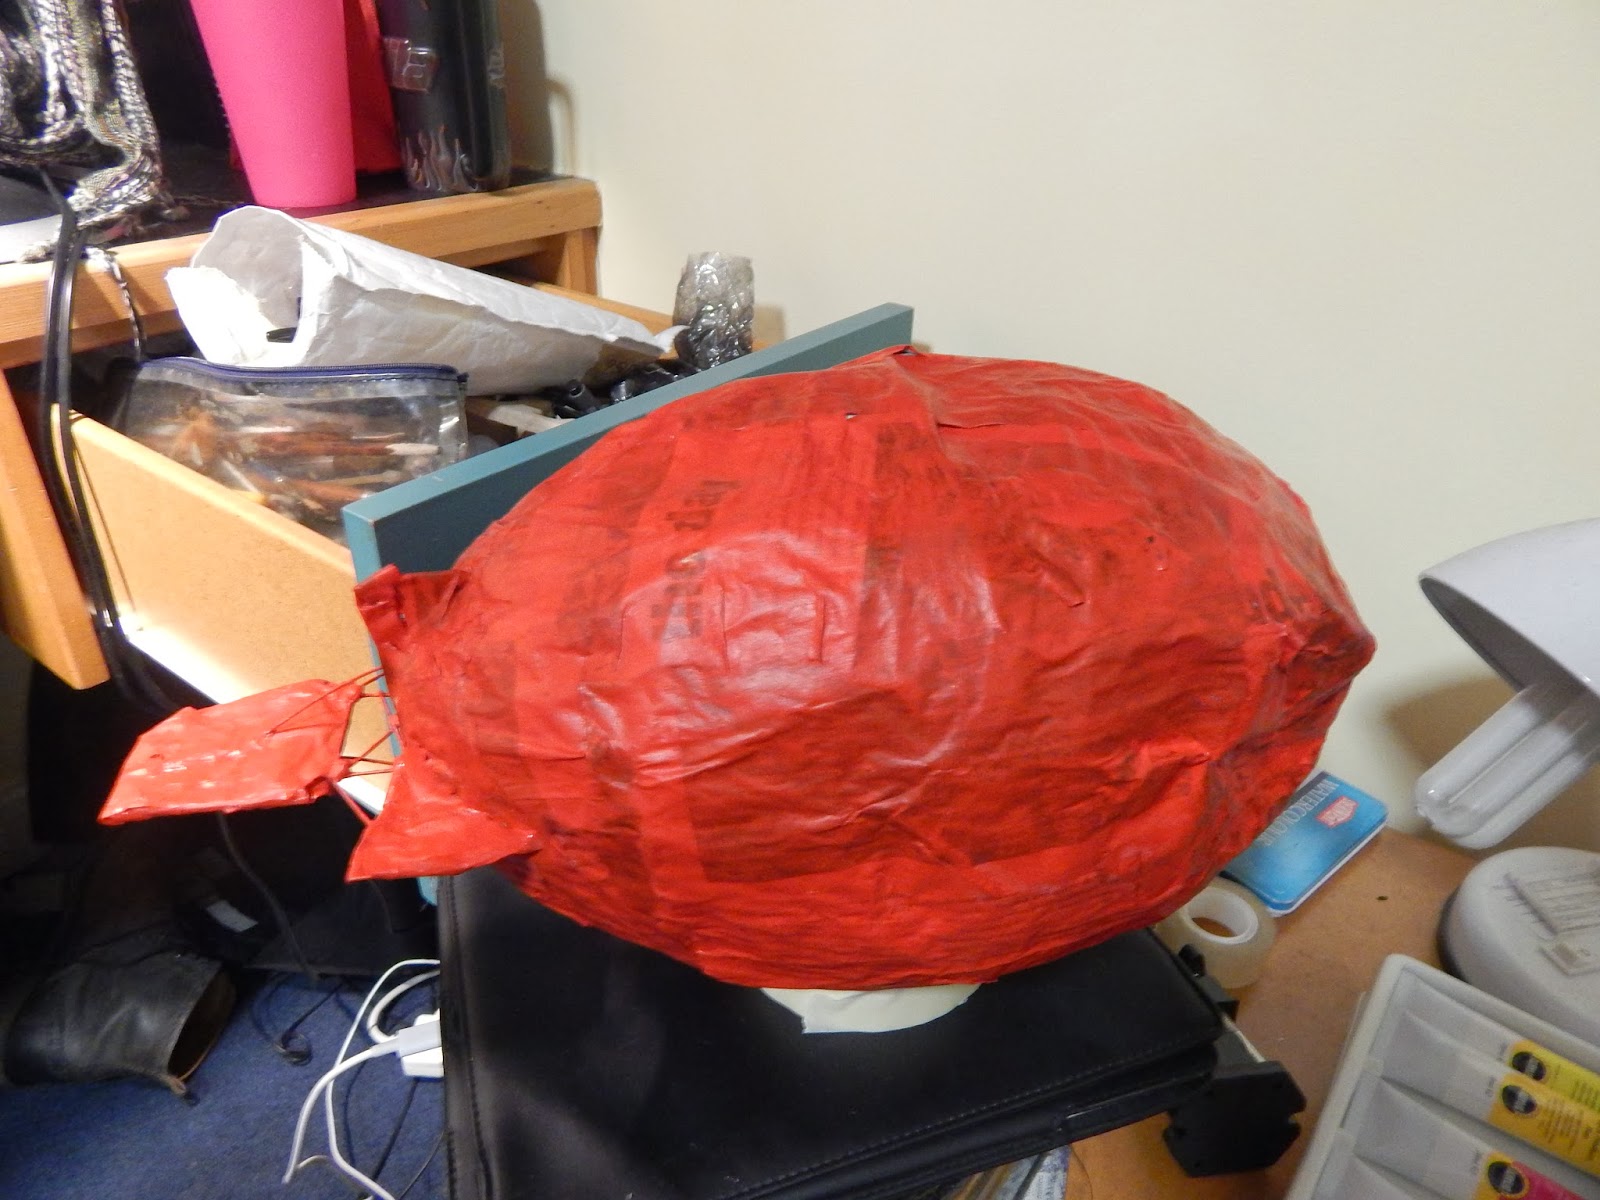
I then acquired a rugby ball from a flat mate for the balloon part and used paper mache on the boat and the ball (dont worry I covered it in a bag to protect it). I layered this a couple of times and left it over night to dry.

Once it had dried I had to cut it in half so I could give the rugby ball back to the flatmate. I then added another layer of paper mache to seal it back together.


The next stage was to paper mache the boat section and cover it in modelling clay so it could add details to make the appearance of wooden planks like in real boats. I also added the arms for the boat which would have the fans at either end.

I then made the fins and rudder for the balloon and painted the balloon. The boat was also painted next first with a coat of dark brown, then it was an ink wash and finally a dry brush highlight of yellow ochre.


While the paint was drying I made the fan and ladder sections and when dry attached them. I wrapped copper wire around them to make them seem metallic.


After that all that was left was to connect the balloon and the boat. The details were also added and bingo! My vehicle was created.


I had a lot of fun with this project because it helped me understand my vehicle in more depth but also the shapes that make it up, how they fit together and how they create structure for the vehicle. When making the boat shape I made a frame for it out of wire (a wire frame) like you might in 3DS Max which gave me an idea of how to see and plan how to make things in 3D.

Monday 3 February 2014

Two crazy weeks


Over the last two weeks the Uni set up this intensive study system where the year group would be mixed up and one week would be dedicated to our 3D game production module and the next towards our 2D visual studies module. We would have a project to do in the 5 days which gave us the opportunity to prove that we can work hard and also a chance to revisit skills previously learnt and apply them. The good thing about this was that it again showed how much I was improving in my studies but also it showed how my work ethic had changed and is improving. During sixth form I became quite lazy but now I'm working everyday on my studies and when I have free time I'm practising drawing, digital painting, 3D skills and animation.

The first week was dedicated to 3D and we were tasked with making a street scene in 3DS Max 2013. We had to create diffuse, specular, and heightmaps (to make normal maps) from reference photos and apply them to every object in the scene. This was good because making all the objects like boxes, bins, bin bags, street signs and other objects that would occupy the scene I got lots of quick practice at making objects with good geometry as well as lots of practice with UVW unwrapping which was something I was struggling with but not any more.


One of the parts I enjoyed the most was making the little cluster of the bin surrounded by some binbags, boxes and dirt on the floor.
This is a picture on my sketchfab page:
https://sketchfab.com/show/e3f1dc16606d4a59b015d664aae7e07a

 I also enjoyed making the fence with corrugated iron sheets and posts tied together with strings.
This is a picture on my sketchfab page:
https://sketchfab.com/show/818b6bf385cf4a4c9e1419360cfd5193


The 2nd week was dedicated towards designing a Vehicle from an average object. I chose a lamp, I then looked at the compound shapes that made up the lamp and experimented with silhouettes to see what shapes where made and if I could come up with ideas around what kind of vehicle I could make. In the end after 17 pages of these experiments I decided to develop it into some form of hot air balloon or dirigible airship. This involved researching how they actually work so off to the library I went.


In the end after lots of research and sketches I cam up with 3 different designs all of which were airships. The first was a dirigible that had a boat with fans attached to the bottom similar of early balloon designs. The second was a floating island and the third was a classic Zeppelin type airship with opposable fans.


I then developed my choice.


And here are my finals.


After this project I feel like the amount I've learnt is massive and I can still do more. If I were to do it again I think I would layout the pages in a more presentable way and also do more designs of the cockpit... How does it work? This means that say it was used in a film the prop designers would know what to build.