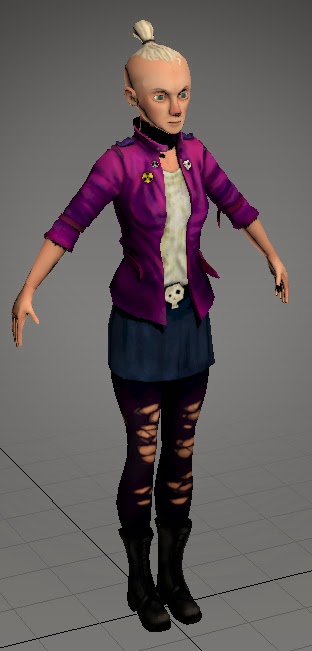
My last character post was left off with the finalization of the concepts, since then I have modeled, textured and rigged the character. I started this process by making some orthographic images of the character. I wasn't quite sure how to do this and because of time constraints I didn't want to spend too long on it. I made two very simple sets. one showing the character with a basic silhouette with the clothes and then one which I would start my model with that showed the anatomy beneath the clothes. This meant I could properly model the character and the body would look right with the big jacket on.
After that I started modelling and used the box modelling the character. I started at the torso and the legs as per the norm. I actually had a lot of fun doing this and where I have struggled in the past with making it look alright I made sure to constantly look at reference, tutorials and other examples for anatomy and topology. I realized that this is so very essential in making something look better and while there are still many things that don't look right I know that I have dramatically improved since the last project. I also made sure to create some deformation loops for the joints and I opted to try a different way compared to what I normally do but i'm not sure if it will have a positive effect on my marks. I still need to understand what the exact pros and cons between the two.
I then modeled the arms, hands and head in a similar fashion. I found the forearm hard to model as I twisted it around the arm to create the topology. Some people don't do this in their models but looking at the anatomy of the human body I decided this was the best route. My problem was that it was hard to arrange the points correctly when doing this. For the head I found the hardest point was making it look normal but also match my concepts, creating stylized characters requires and very good knowledge of traditional and realistic characters before I can effectively choose what to push and exaggerate to make it stylized. I have decided that I definitely want to try some personal character projects and now I am feeling more confident about my abilities I think that it is much more possible for me to learn more form the experience.
Once I finished the intial model I started modelling the clothes and extra bits to create the charachter. I think I should have puched the jacket out further and made it really big but I think it still looks quite nice.
I then took the character into Zbrush to create the normals. I had previously been using it in the Off the Map project and I thought this was the perfect time to expand my knowledge of the program and make the details on my character jump out. I used subtools to make sure I could model into each section independently before merging them. I wish I spend a little more time on the finer details and the boots because I didn't think they looked very good and showed up well outside of zbrush.
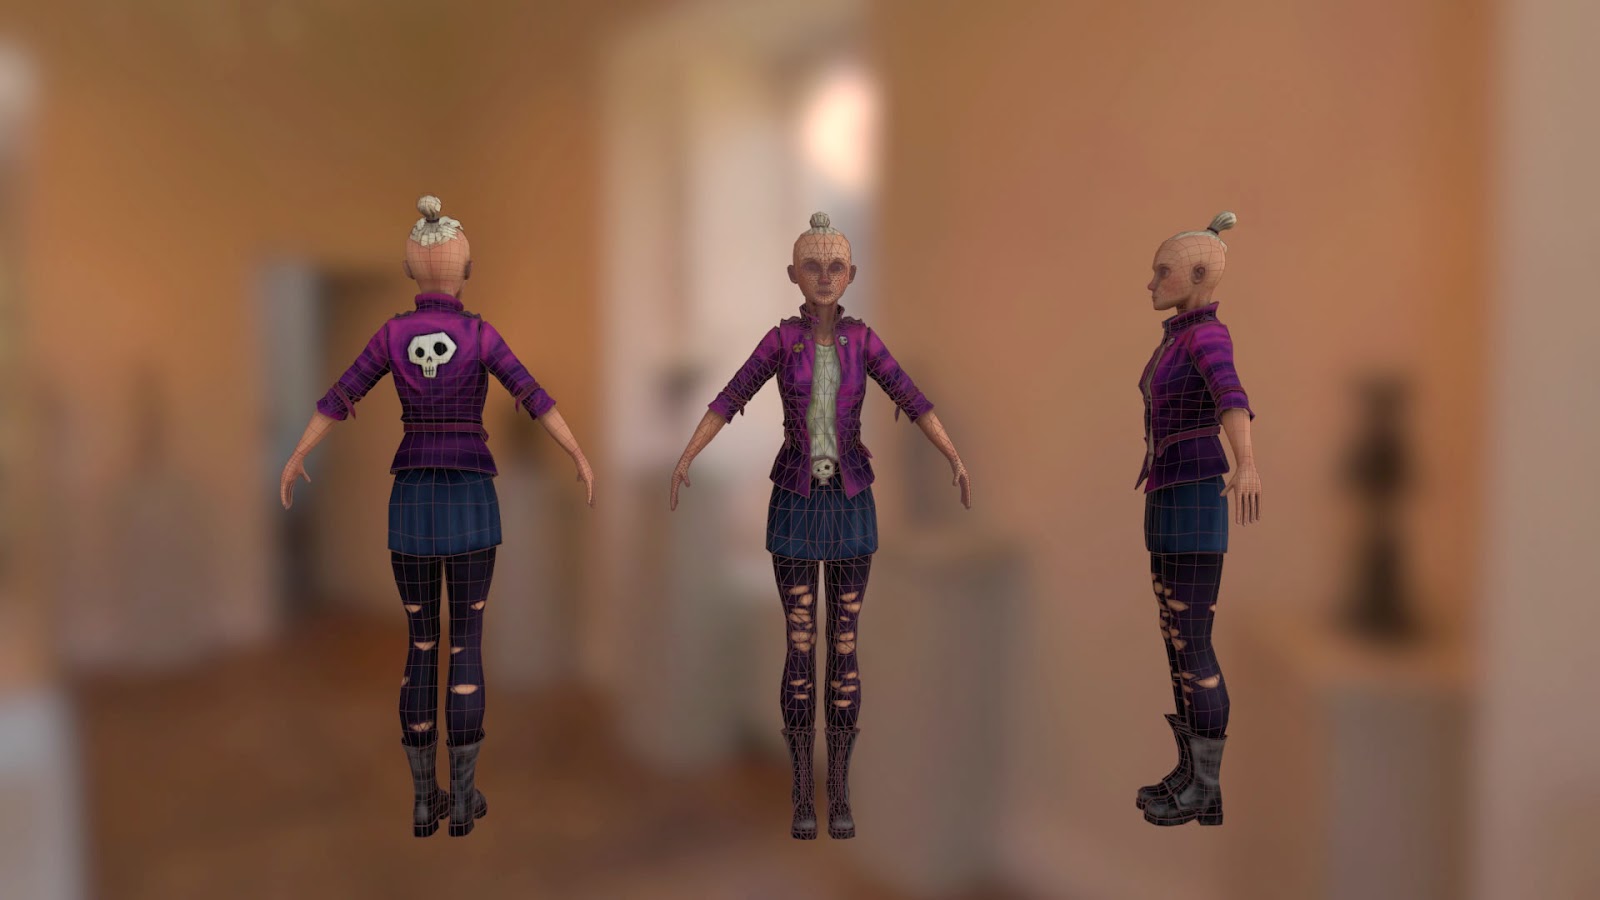
Once sculpting was finished I took it into Xnormal to bake the high poly to the lowpoly model and began texturing. I really wanted to keep the painterly feel I had in the concepts so I had painted the textures on top of an ambient occlusion bake and overlayed a cavity map on top to create the finer details. I tried to limit my brush strokes to really exaggerate the painterly and tried to create colour variation in the texture as well.
I then made a specular and rigged the character. I didn't make and idle animation for the character in the end like on my last one, but this was so I could focus in on actually making a good character. I finished up with some renders in Marmoset Toolbag 2.


